Getting started with Fada: create your workspace in under a minute
A step-by-step guide to creating your Fada workspace, finding your way around the app, and sending your first message — with a screenshot of every step.
Published 16 June 2026 · 5 min read · Fada
Setting up a new tool for your team usually means a long sign-up, an email you have to go confirm, and a blank screen you have no idea what to do with. Fada skips all of that. You enter a few details, and you are inside a working team chat with your first channels already created — no credit card, no waiting room. This guide walks you through every step, with a screenshot of each one, from the homepage to your first message.
Step 1: Open the homepage
Head to fadadz.com. On the homepage you will see a clear way in: select Get started free or Create your workspace. Both buttons take you to the same sign-up page.

Fada is free to start and works in Arabic, French and English, with full right-to-left support for Arabic — so the language your team actually works in is a first-class citizen, not an afterthought.
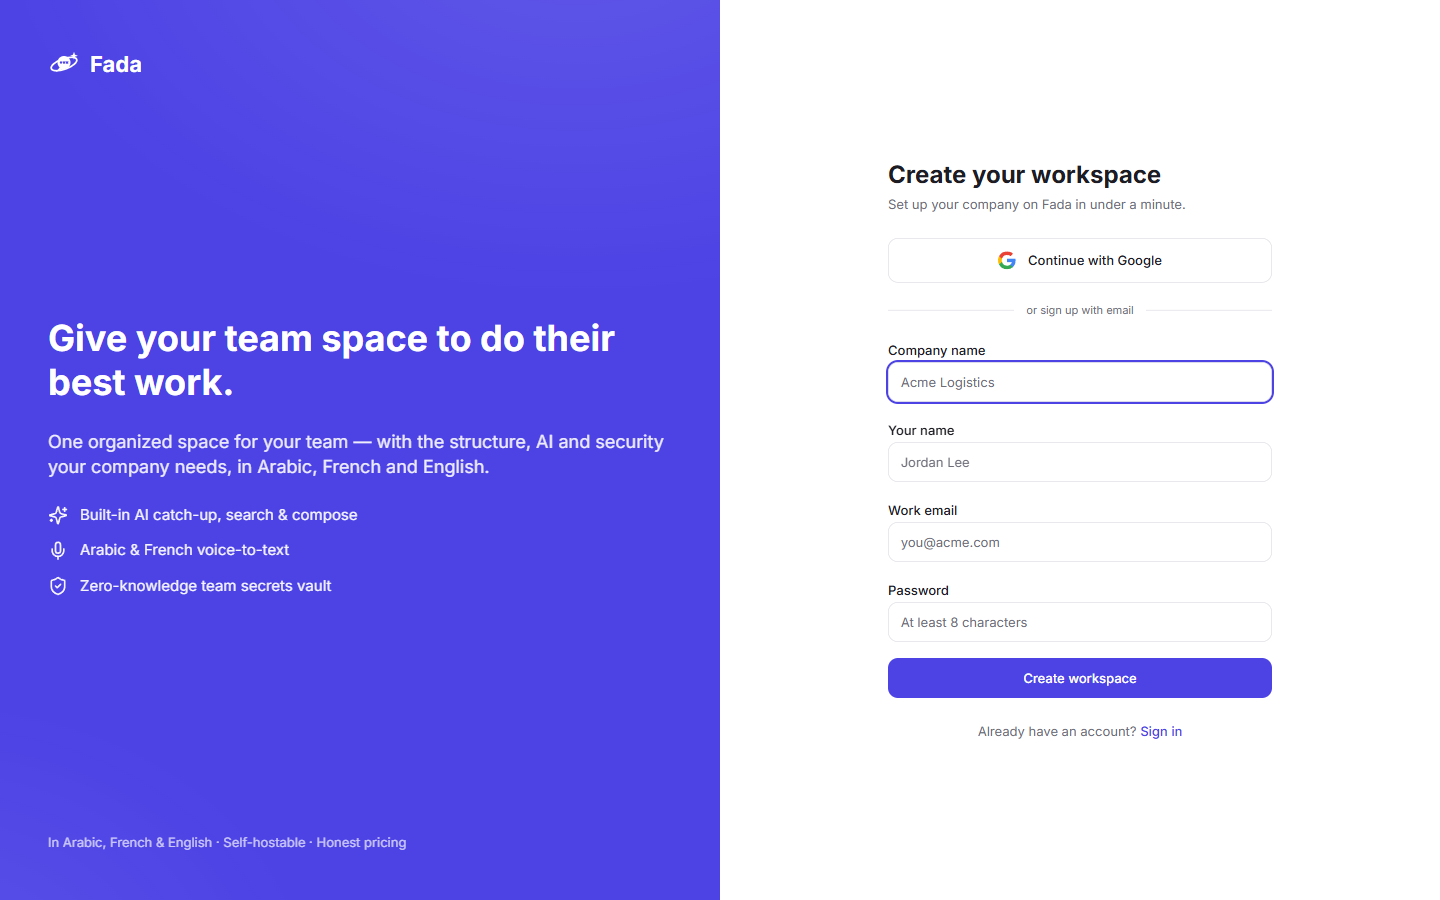
Step 2: Fill in the sign-up form
The sign-up form asks for four things:
- Company name — this becomes the name of your workspace.
- Your name — how teammates will see you.
- Work email — where your account lives.
- Password — use at least 8 characters.
Prefer not to set a password? Choose Continue with Google and you are in with one click.
You do not need a credit card to start. When you have an account, you can add the whole team — Business is one flat monthly price for everyone, not a per-person fee — but that comes later. Right now you are just getting in.
Step 3: Land in your new workspace
That is it — there is no email to go and click before you can start. As soon as you submit the form, you land straight inside your brand-new workspace.
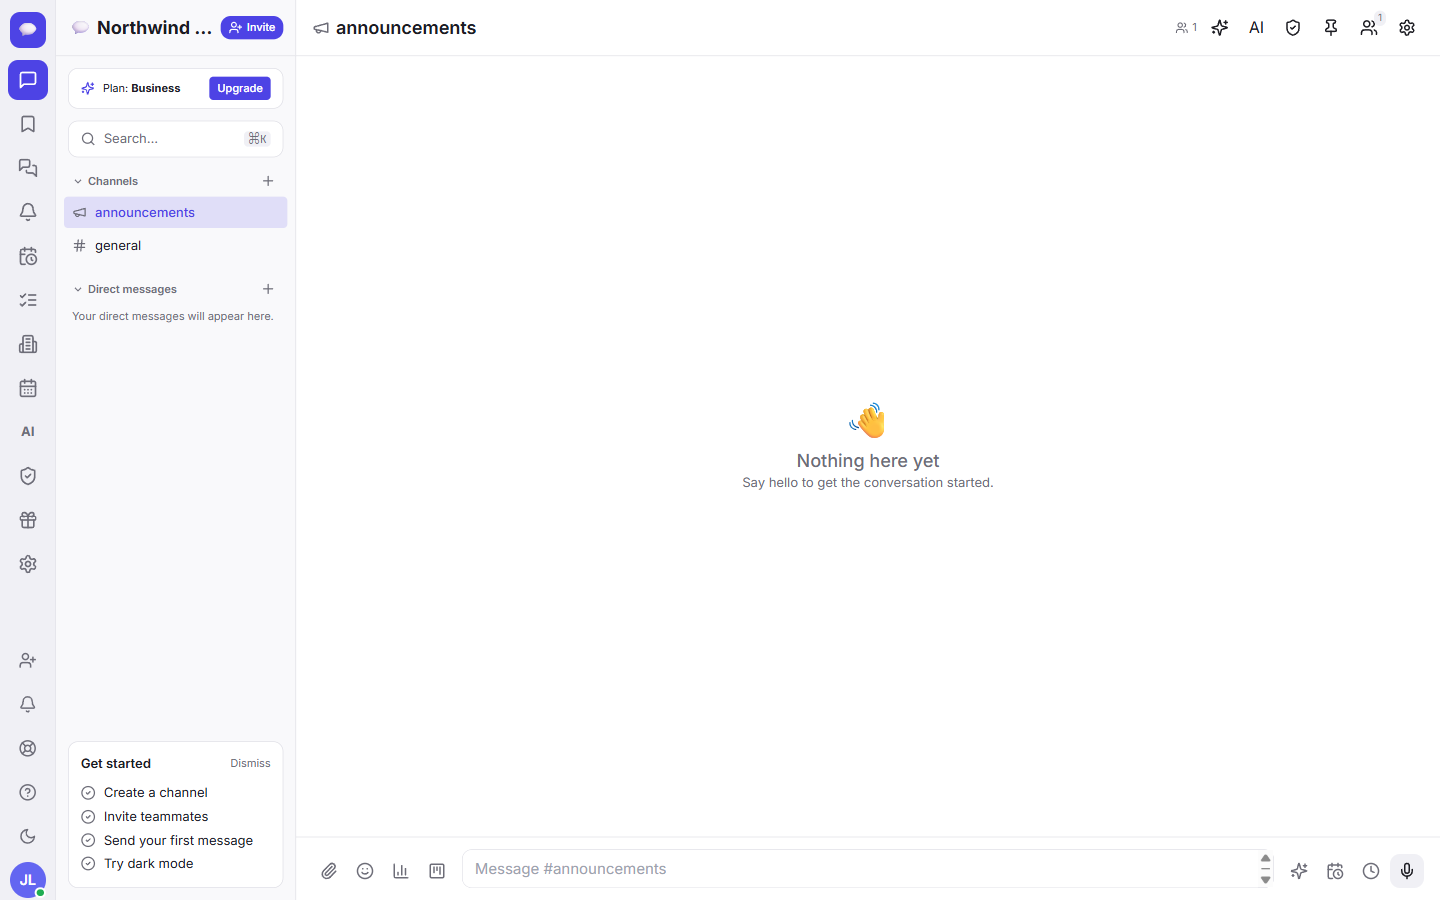
Fada sets up two channels for you automatically:
- announcements — a broadcast channel for company-wide updates.
- general — the everyday catch-all for your team.
You will also see a Get started checklist in the sidebar. It nudges you through four quick wins: Create a channel, Invite teammates, Send your first message, and Try dark mode.
Step 4: Get to know the left rail
Everything in Fada is reached from the left rail. It is the main menu, and it stays with you wherever you go:
- Chats — your channels and direct messages.
- Saved, Threads, Reminders — keep track of what matters.
- Meetings, Tasks, Clients, Calendar — the work that lives around your conversations.
- AI assistant, Vault, Refer & Earn — helpers and extras.
- Admin — visible to owners and admins, for managing the workspace.
A quick tip: you can jump to anything fast with the Search box, or by pressing Cmd/Ctrl + K from anywhere.
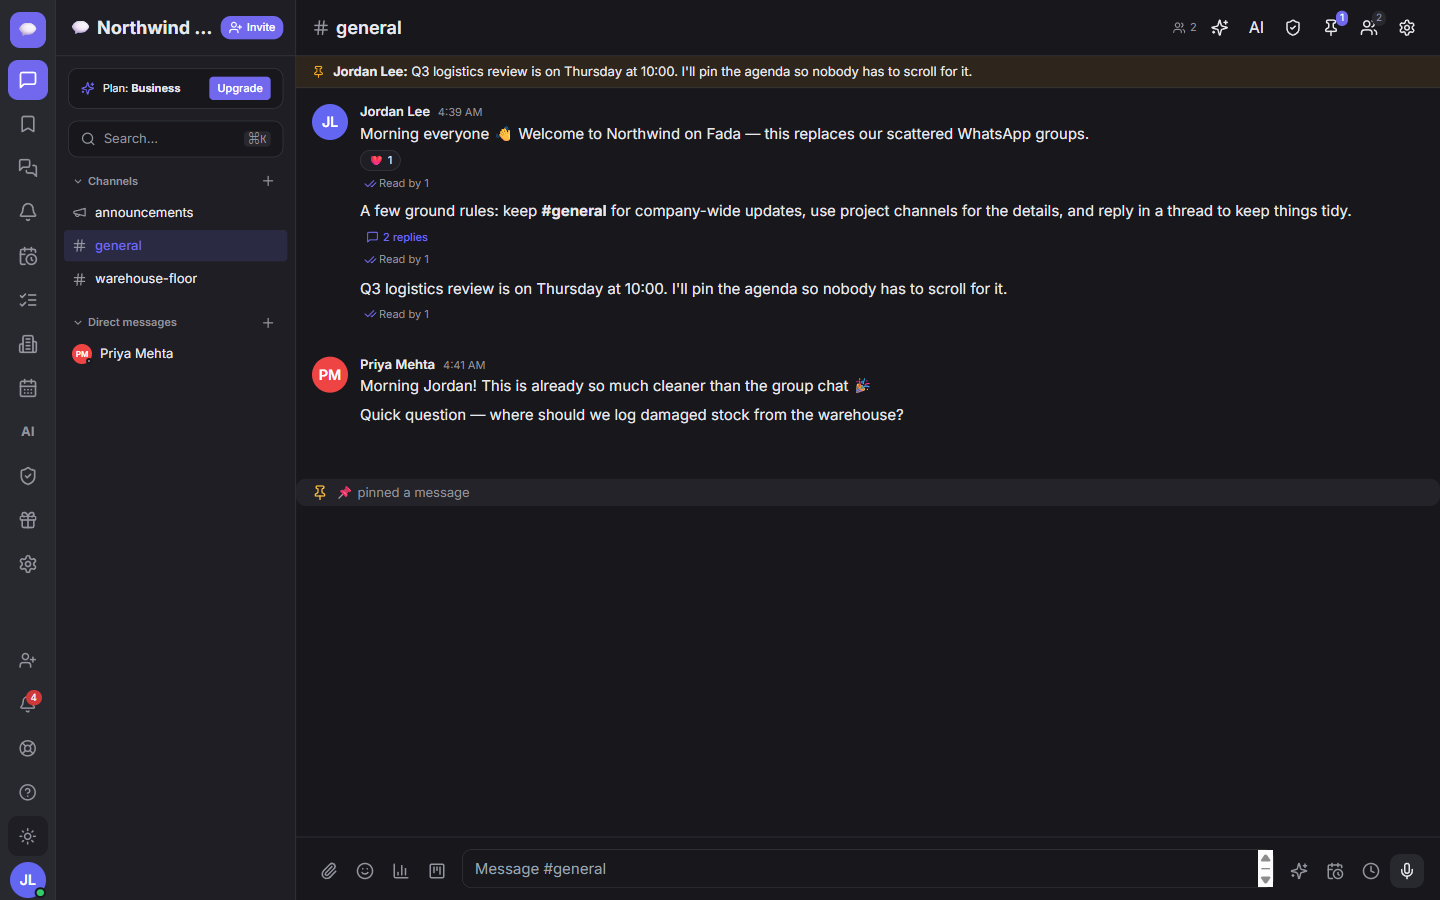
Step 5: Send your first message
Open the general channel from the Chats list, type a quick hello in the message box at the bottom, and press Enter. That is your first message sent — and the third item on your checklist done.
Fada chat does more than plain text: you can reply in threads to keep side conversations tidy, and react with emoji instead of cluttering the channel with one-word replies. Our guide to messages, threads and reactions covers it in a couple of minutes.
When you are ready to organize, the channels guide shows how to add channels for projects, teams or clients so conversations stay in the right place.
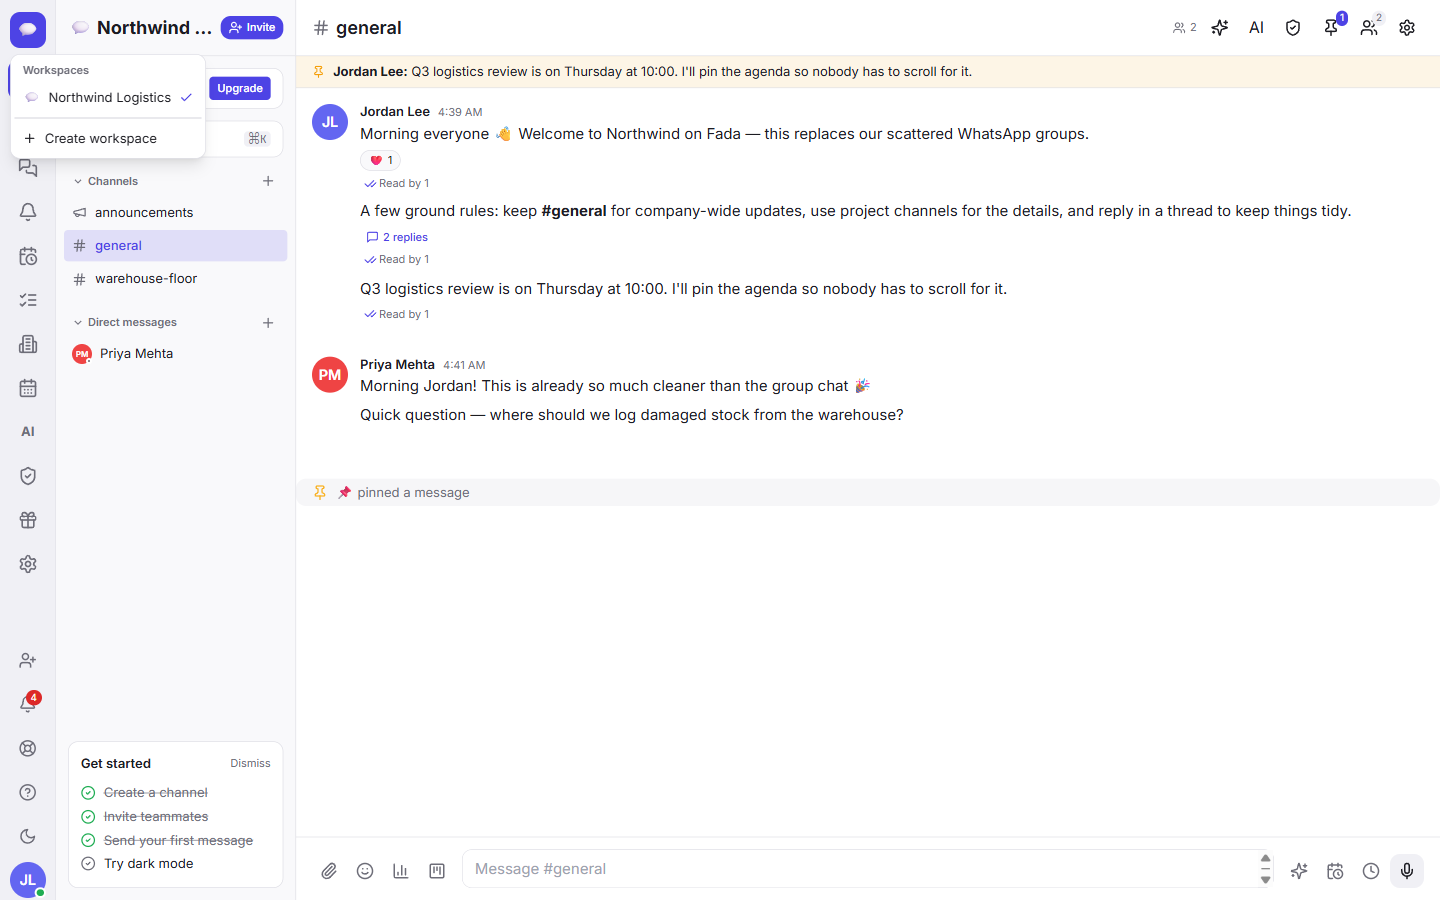
Step 6: Switch workspaces or create another
Run more than one workspace — say, one for your company and one for a side project? Use the icon at the top of the left rail to switch between them, or to create a new one.
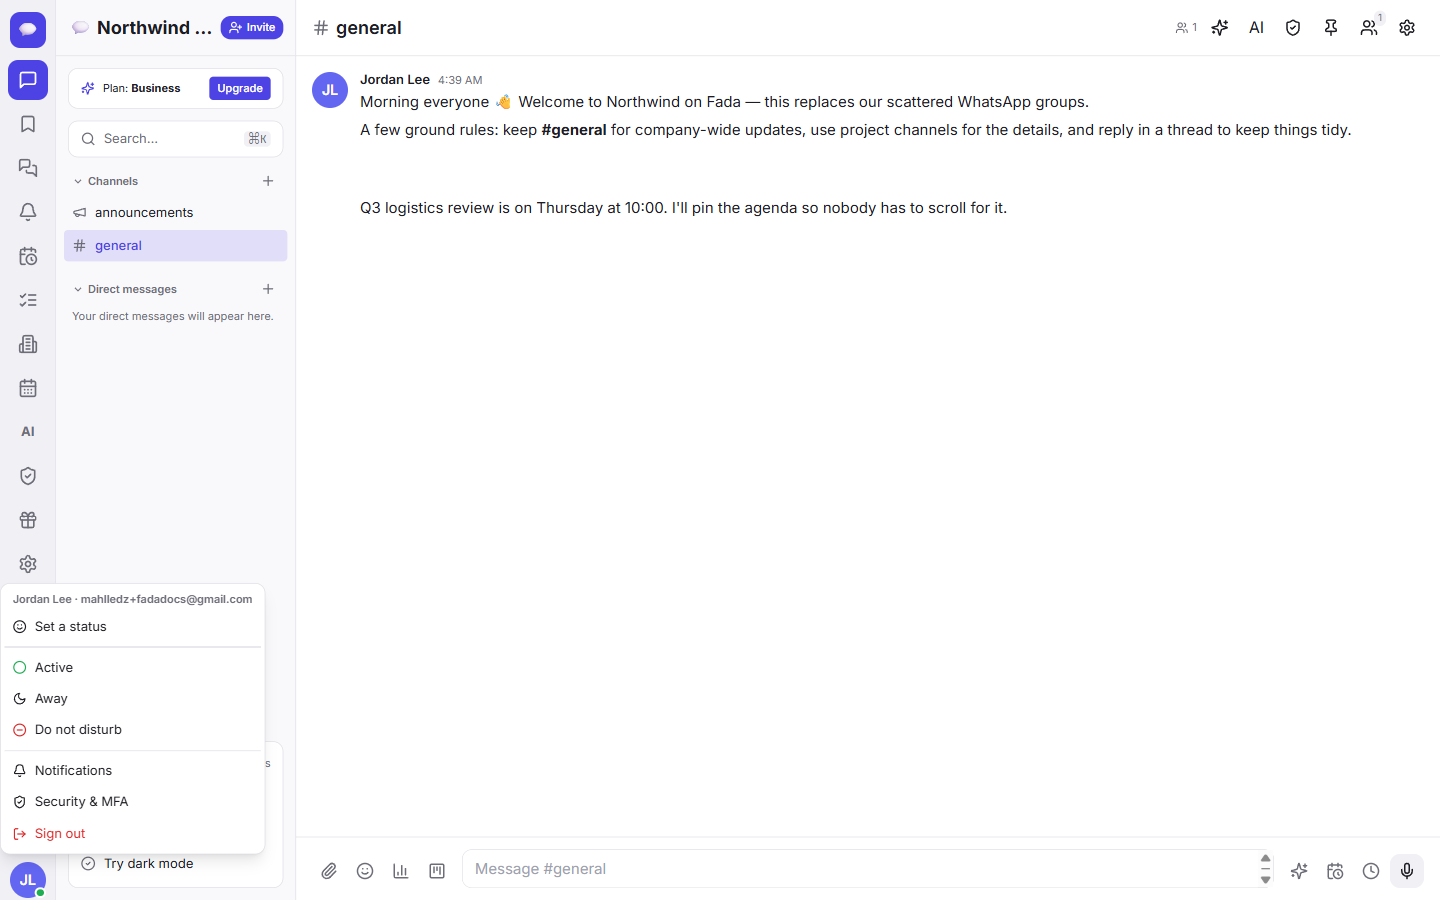
Step 7: Set your status and preferences
Your profile menu lives at the bottom-left, under your avatar. Open it to:
- Set your status — Active, Away, or Do not disturb.
- Adjust Notifications so you only hear about what matters.
- Manage Security & MFA to keep your account safe.
- Sign out when you are done.
Background notifications use standard web push, so you can get alerts on desktop and on your phone without installing anything from an app store.
Try dark mode
The last item on the checklist is the easy one. Switch to dark mode any time from the sun/moon icon in the left rail.
Step 8: Signing back in later
Next time you come back, just open fadadz.com and sign in with the email and password (or Google) you used at sign-up.

What to do next
You now have a working workspace, two channels, and your first message sent. The single best next step is to bring your team in — a chat app is only useful with people in it. Our short invite your team guide walks you through it.
That is the whole setup: under a minute to a real, working team chat, with no credit card and nothing to install. If you have not already, start a free Fada workspace and say hello in your first channel.
Bring your team together on Fada
Create your workspaceKeep reading
How to invite your team to Fada (and set the right roles)
Create an invite link, bring teammates into your workspace, and choose who is an owner, admin or member — step by step, with screenshots.
Install Fada on your phone (add it to your Home Screen)
Fada works on any phone — install it like an app from your browser, with no app store needed, and get push notifications on the go.